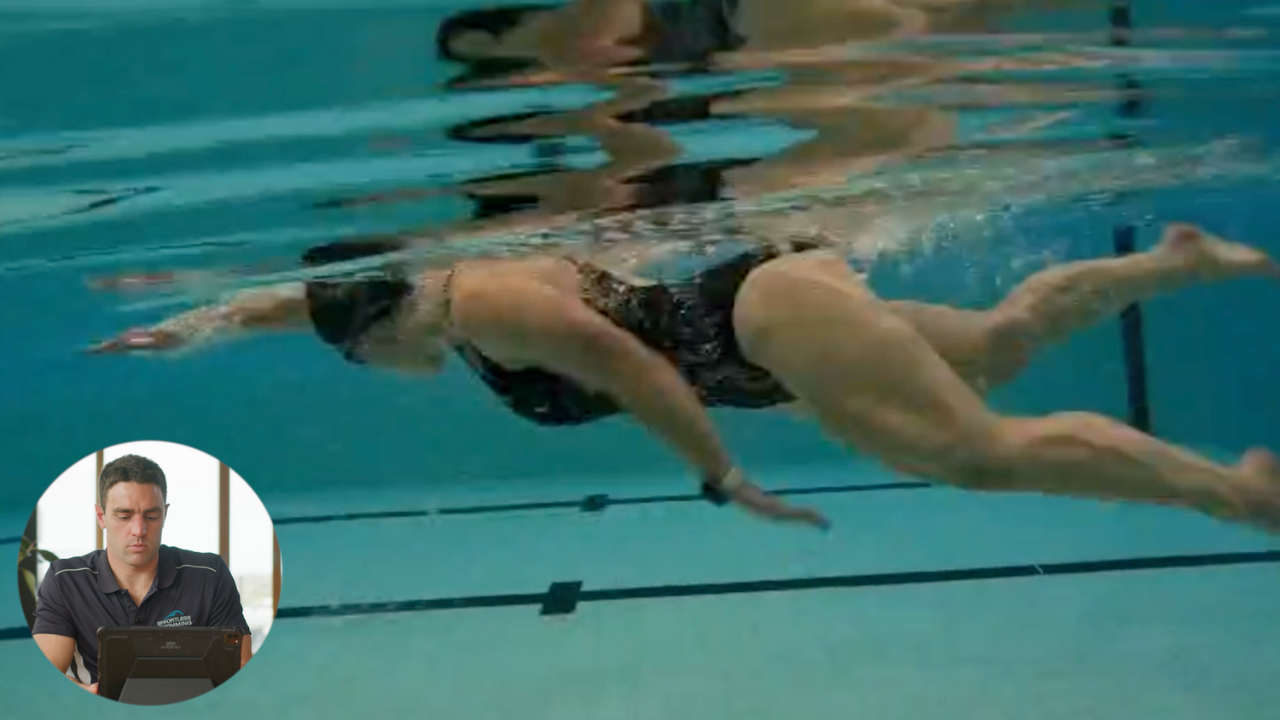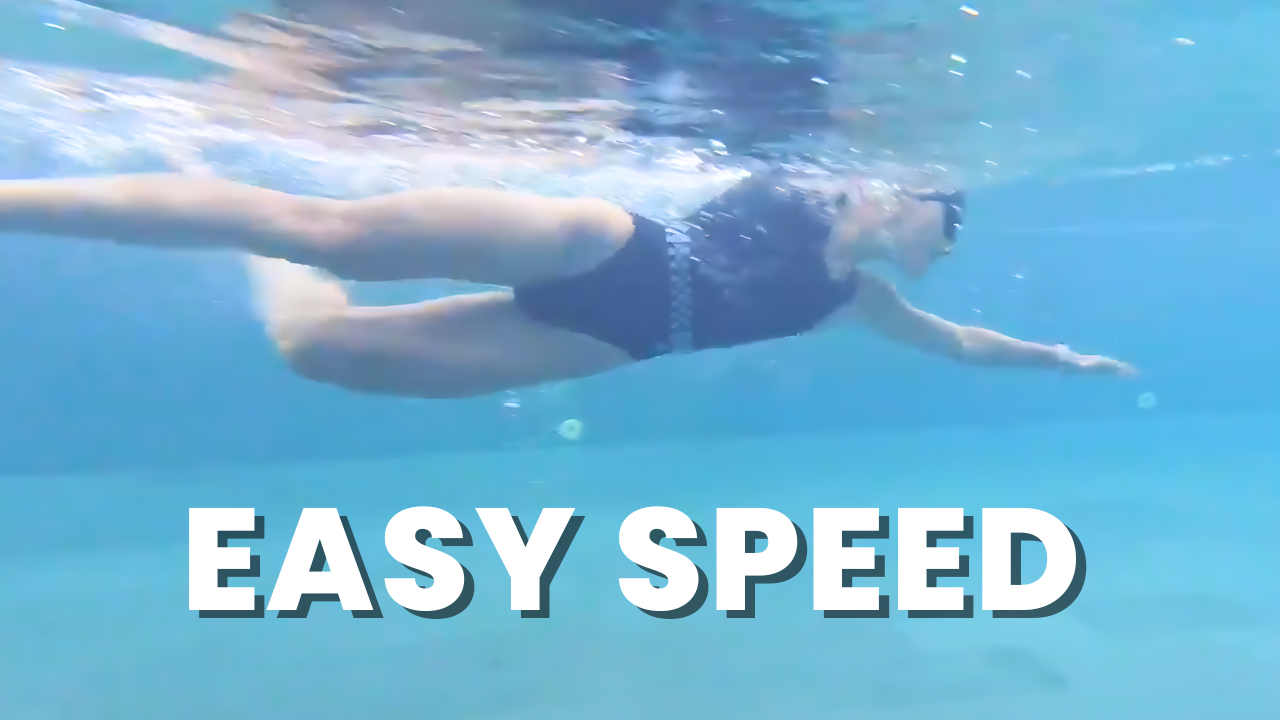

Alright Brenton here, welcome to feedback Friday. In today’s episode, we’re looking at a triathlete who’s around a 1:30 pace for 1500. So, he’s swimming 22 and a half minutes for 1500 meters. So, he’s swimming quite well. Now looking at this first shot you can see he’s breathing exactly how you want it to be. There’s a gradual exhale through the nose and he exhales everything just before he turns his head to breathe. So, that’s really the first thing we want to start with is a comfortable and relaxed breathing pattern and also making sure that we’ve got that gradual exhale through the nose. If you exhale through the mouth only it’s more of a panic type of breath whereas when you exhale more from the nose you can stay relaxed as you do it. So, that’s the first thing we are looking at here.
Then the second thing we’re gonna look at is the body position and you’ll notice that he’s sitting reasonably well in the water. The legs are dropping down a little bit so the overall line through that, through the body not quite horizontal and to me, it’s a combination of pushing down in the water too much out in front. So, as we go through here notice how particularly that right arm from here through to here the had and forearm is primarily pressing down which pushes the chest and the head up nice and high as you can see. But, that will often push the legs down. So, I think it’s a combination of that, it’s also a combination of a little bit of over-rotation on the breathing stroke where the legs are playing which is causing him to lose a bit of balance and I’ll show you that in a moment. The other thing that’s probably contributing to it too is just in terms of the ankles you’ll see that on the down kick, alright, there, the foot is still angled slightly down from the lower leg there. So, ideally, with really good swimmers you’ll see that the foot is actually straight or angled sort of up in that direction from the lower leg. So, may just need to turn the feet inward slightly. So, it’s almost like you want to bring your big toes in towards each other and just keep the feet lose and floppy. Whereas if you don’t turn the feet in, you don’t have as much range of motion through the ankles and it can sort of have this more of a sort of rigid kick there. So, that’s something that he could look at doing.
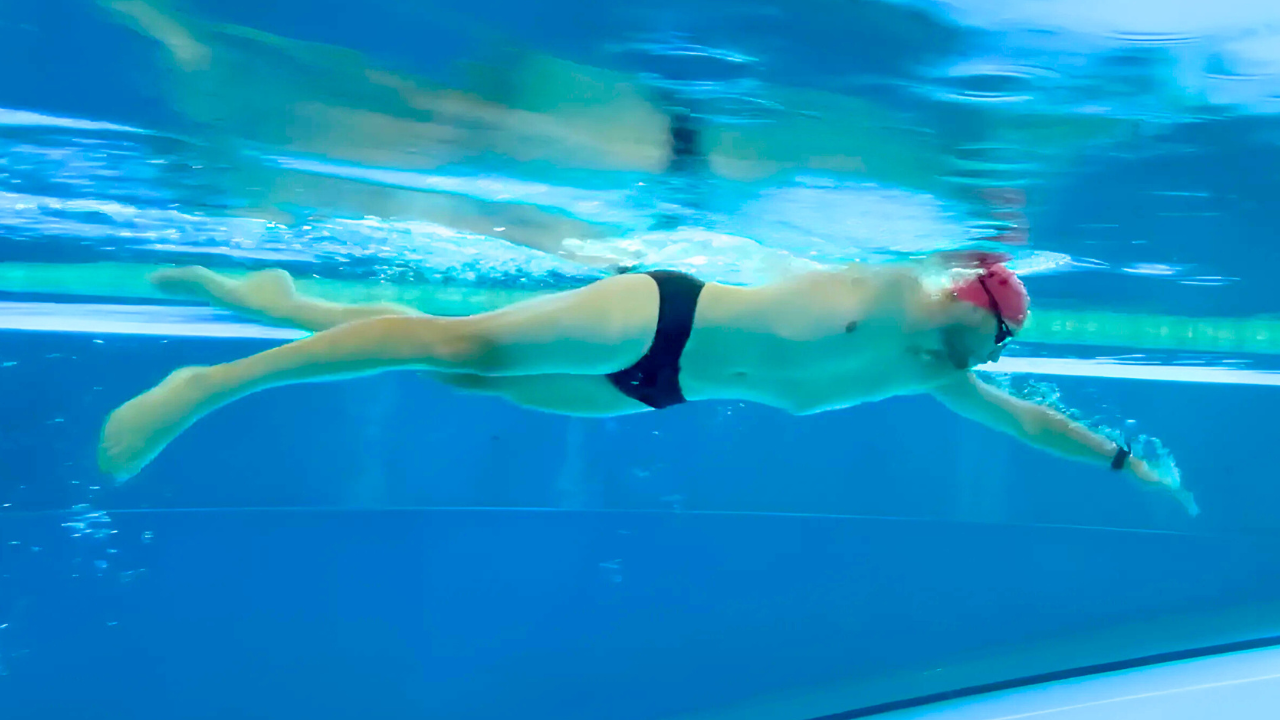
Obviously, ankle flexibility plays a part of it but, I’ve seen with a lot of swimmers that they can kick a lot more effectively just by turning the feet inwards to one and other. So, that’s the body position. Now, head positions looking good. He’s looking roughly probably you know, two, three meters out in front, top of his head is above the water and a pretty good line from his head, neck, through to his spine there. So, that’s looking good. To me, the key thing for this swimmer here that he can work on is really the entry, extension, and the catch. That’s where the biggest opportunity lies at the moment. Let’s just cut to the entry, to begin with. You’ll see that he comes over nicely. He’s got an elbow lead recover which just means that the elbow is in front of the hand until it gets to the shoulder, then the hand comes in front. So, that’s really good. That’s what we want to see. Elbow lead recovery. So, elbow in front of the hand until it gets to the shoulder, then the hand comes in front. So, that’s spot on.
You will see with his entry through that as he’s coming over the elbow lands first, then the hand and forearm together. So, the elbows actually entering first instead of the fingertips on both arms there. I know it’s not that clear but, just basically overextending or overreaching on the entry. So, essentially that leaves no room to then extend and slide the hand forwards in the water and you’ll see it from under the water too. Alright so here, alright you’ll notice as he comes over, elbows entered then the hand comes in. Now, at speed when he’s sprinting that’s gonna create a lot of bubbles on the hand ’cause it brings all this air down with it that catches here. So, he would want to get the fingertips going a little bit earlier and it typically, and we see this quite a bit with swimmers at clinics and in our membership if you do overreach on the entry you’ll usually start the catch in this dropped elbow position where the elbow is lower then the hand.
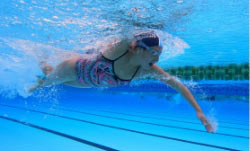
On this left side here same thing, elbows gone first, then the hand comes in. So, just overreaching, not leaving any room to slide forward. Let’s have a look at an elite swimmer and see what this looks like with them. So, this is Andrew [inaudible 00:04:17] who this is, we’ve added, we’ve got his videos in our membership and video library that you can check out there. So, you can see as he comes in, he’s actually going fingers first. So, the finger goes in first, then the rest of the arm follows. Again fingers first, then the rest of the arm follows and we’ll look at that from above the water too from the side. You’ll see it’s just that little bit earlier, a little bit different. Alright here we go, he comes over, fingers just go first, then the elbow. So, it doesn’t need to be much but, you do want to leave that little bit of room to slide the hand forwards there. So, that’s really the difference.
So, what this swimmer should probably aim for is just to try and get the hand in a little bit earlier. That will help him set up his catch a lot better. So, if we then look at the rest of the catch, you’ll see here, alright he’s starting the catch in this position which is that dropped elbow position. We want the starting catch position to be fingers deep and then the wrist, wrist deeper then the elbow instead of the other way around. Elbow is deeper then the wrist and the hand at the moment and this is causing him to then mostly press down on the water. So, the hand and forearm pressing down here a little bit too much in that early phase of the stroke and if we look at this position here, so when he finishes his catch, if we were to draw a straight line from his shoulder through to his hand that elbow would be sitting below that straight line which just basically shows a dropped elbow position and we want it to be a high elbow catch, or a high elbow position which looks a little bit more like this.
So, if we draw a straight line from the shoulder to the hand, that elbow is sitting above that line. So, it’s a high elbow catch. You can see the direction that the upper arm, the forearm, the hand is all facing. That’s a lot of surface area that’s then pressing back against the water. So, that’s what we want to work towards and it all starts with a better entry position. So, we’ve got to look at that from the start. Yeah, a few strokes he does a little bit better but, it just start up a little bit too high. Left arm, similar thing, just pressing down for that first part of the stroke. So, here pressing down, pressing down, gets into a slightly dropped elbow position here but, exits the water really nicely. So, really the biggest things that he can work on, what’s happening out in front of him.
Let’s take a look at the front view here. Alright front view right here. So, as you will of seen in a lot of our other videos and if you’ve seen our virtual freestyle clinic or you in our video library, you’ll see that when we want to get to, when we get to here just passing under the shoulder we want this angle to be between 100 and 120 degrees. So, at the moment he’s looking to be about 140 degrees through that arm from the shoulder to the elbow, elbow to the hand. So, basically he’s down a little bit too deep with the hand and the arm is a bit too straight. The reason we want to get to this 100 to 120 degree angle, and I’ll show you what this looks like with Andrew’s video here, the reason we want to get to this position is because that is where you can essentially be strongest and you can have the most amount of leverage while being able to engage the stronger muscles through the chest, the back, and the shoulders.
So, you can see this angle here, it’s about 120 degrees through this arm. So, it’s not that different to where this swimmer is but, still he’s just going that deep, it’s very hard to engage the lats when you’re going that deep. So, he will need to aim a little bit shallower basically so, get the hand from here up a little bit higher, so basically shallower. That will naturally create more of a bend in the elbow once he’s passing under the shoulder which will allow him to be a lot stronger. And then on the left arm, you can see on those breathing strokes, possibly over rotating through the shoulders a little bit but, probably not the main focus. It’s just that hand goes down quite deep again. So, if you look at that arm angle it’s about 140 to a 150 degrees. Just going down too deep and too straight.
Now you’ll also see it from the side here. Another thing I like to look at too that really stands out when you look at the fastest swimmers in the world is as they pass underneath the shoulder here alright, what you’ll see with those elite swimmers is the shoulder, the elbow, and the hand will line up. So, at the moment shoulder, elbow lines up nicely, the hand is out in front a long way. So, if we look at that direction that the forearms facing, it’s more facing somewhat downwards instead of facing backward there. So, we want to get one, two, three all lined up. That is gonna send you in the best, it’s gonna sort of move you forwards in the best possible way.
The same on this left arm, so we’ve got one, two, but not the third thing. The hand is a bit too far out in front. It’s better on this left arm but, not as good. Now if we look at Andrew here, you’ll see that difference. So, pretty much one, two, three. Let me just get a better angle so you can see it. Okay see that. Should, elbow, hand all lined up. That surface area really big and all facing straight back behind him. If you look at it on his right arm as well, same thing. One, two, three pretty much all lined up and that is why he swims a 1:51 for 200 freestyle. So, that’s a really key point is to get all of those things lined up.
Now, there’s a number of different drills you can do to work towards that if you are in the same position as this swimmer here. You know, drills like the power diamond drill that you will of seen in some other videos. You can also do top to bottom [inaudible 00:09:58] which can help you with that. But, it is certainly an important part of the stoke and we did some filming with Josh Amberger who’s the fastest professional triathlete in the water and he gets to that position really, really nicely as well. And you know, there’s a lot of other parts of his stroke that aren’t sort of your typical swimmers stroke or the sort of perfect technique but, he does all the main things really, really well and that’s why he swims so fast. So, to me this is really one of the key things that whether you’re a triathlete, whether you’re an open water swimmer, or a pool swimmer this is one of the key things that you want to get right is having all of that lined up underneath the shoulder.
So, there are really some of the key things that I’d look to work with for this swimmer. So, we’d probably start with the entry. We’d get the fingers in that little bit earlier to then leave a little bit of room to slide the hand forwards. Then we’d work on just improving the catch a little bit so he’s not pressing down on the water as much. We’d aim to get the fingertips facing or pointing down a little bit earlier instead of out in front here. We want the fingertips to point down a bit earlier to be able to get into that higher elbow catch position and we’d use some drills. We’ve got our fault fixer, or how to fix your stroke section in the video library that can help with that and then we’ve got this position here. We’d want to get one, two, three all lined up.
Then a couple other things we’d probably look at, adjusting that kick is gonna help and possibly as well is just checking the rotation as well. If we had a better shot there. So, there are the key things that we’d work with this swimmer. So, if you enjoyed this video give it a thumbs up, subscribe to the channel, and I’ll see you next week for another episode of Feedback Friday.