








In today’s episode, we will be discussing the core principle number four of Fast Freestyle, which is developing an effective catch and pull.
01:40 No Need To Overpower The Catch
03:07 Teaching The Four Key Positions
04:00 Start Of The Catch
06:00 High Elbow Catch
07:35 Power Diamond Position
10:20 Exit Of The Stroke
11:36 YMCA Drill Progression
14:38 More Drills To Work On Your Catch
15:07 Setup Phase
16:35 Path Of The Hand
17:57 Hand Speed
Join the 5 Day Catch Challenge
Join the Effortless Swimming membership
Effortless Swimming Freestyle Clinic
Transcript
Read the full transcript
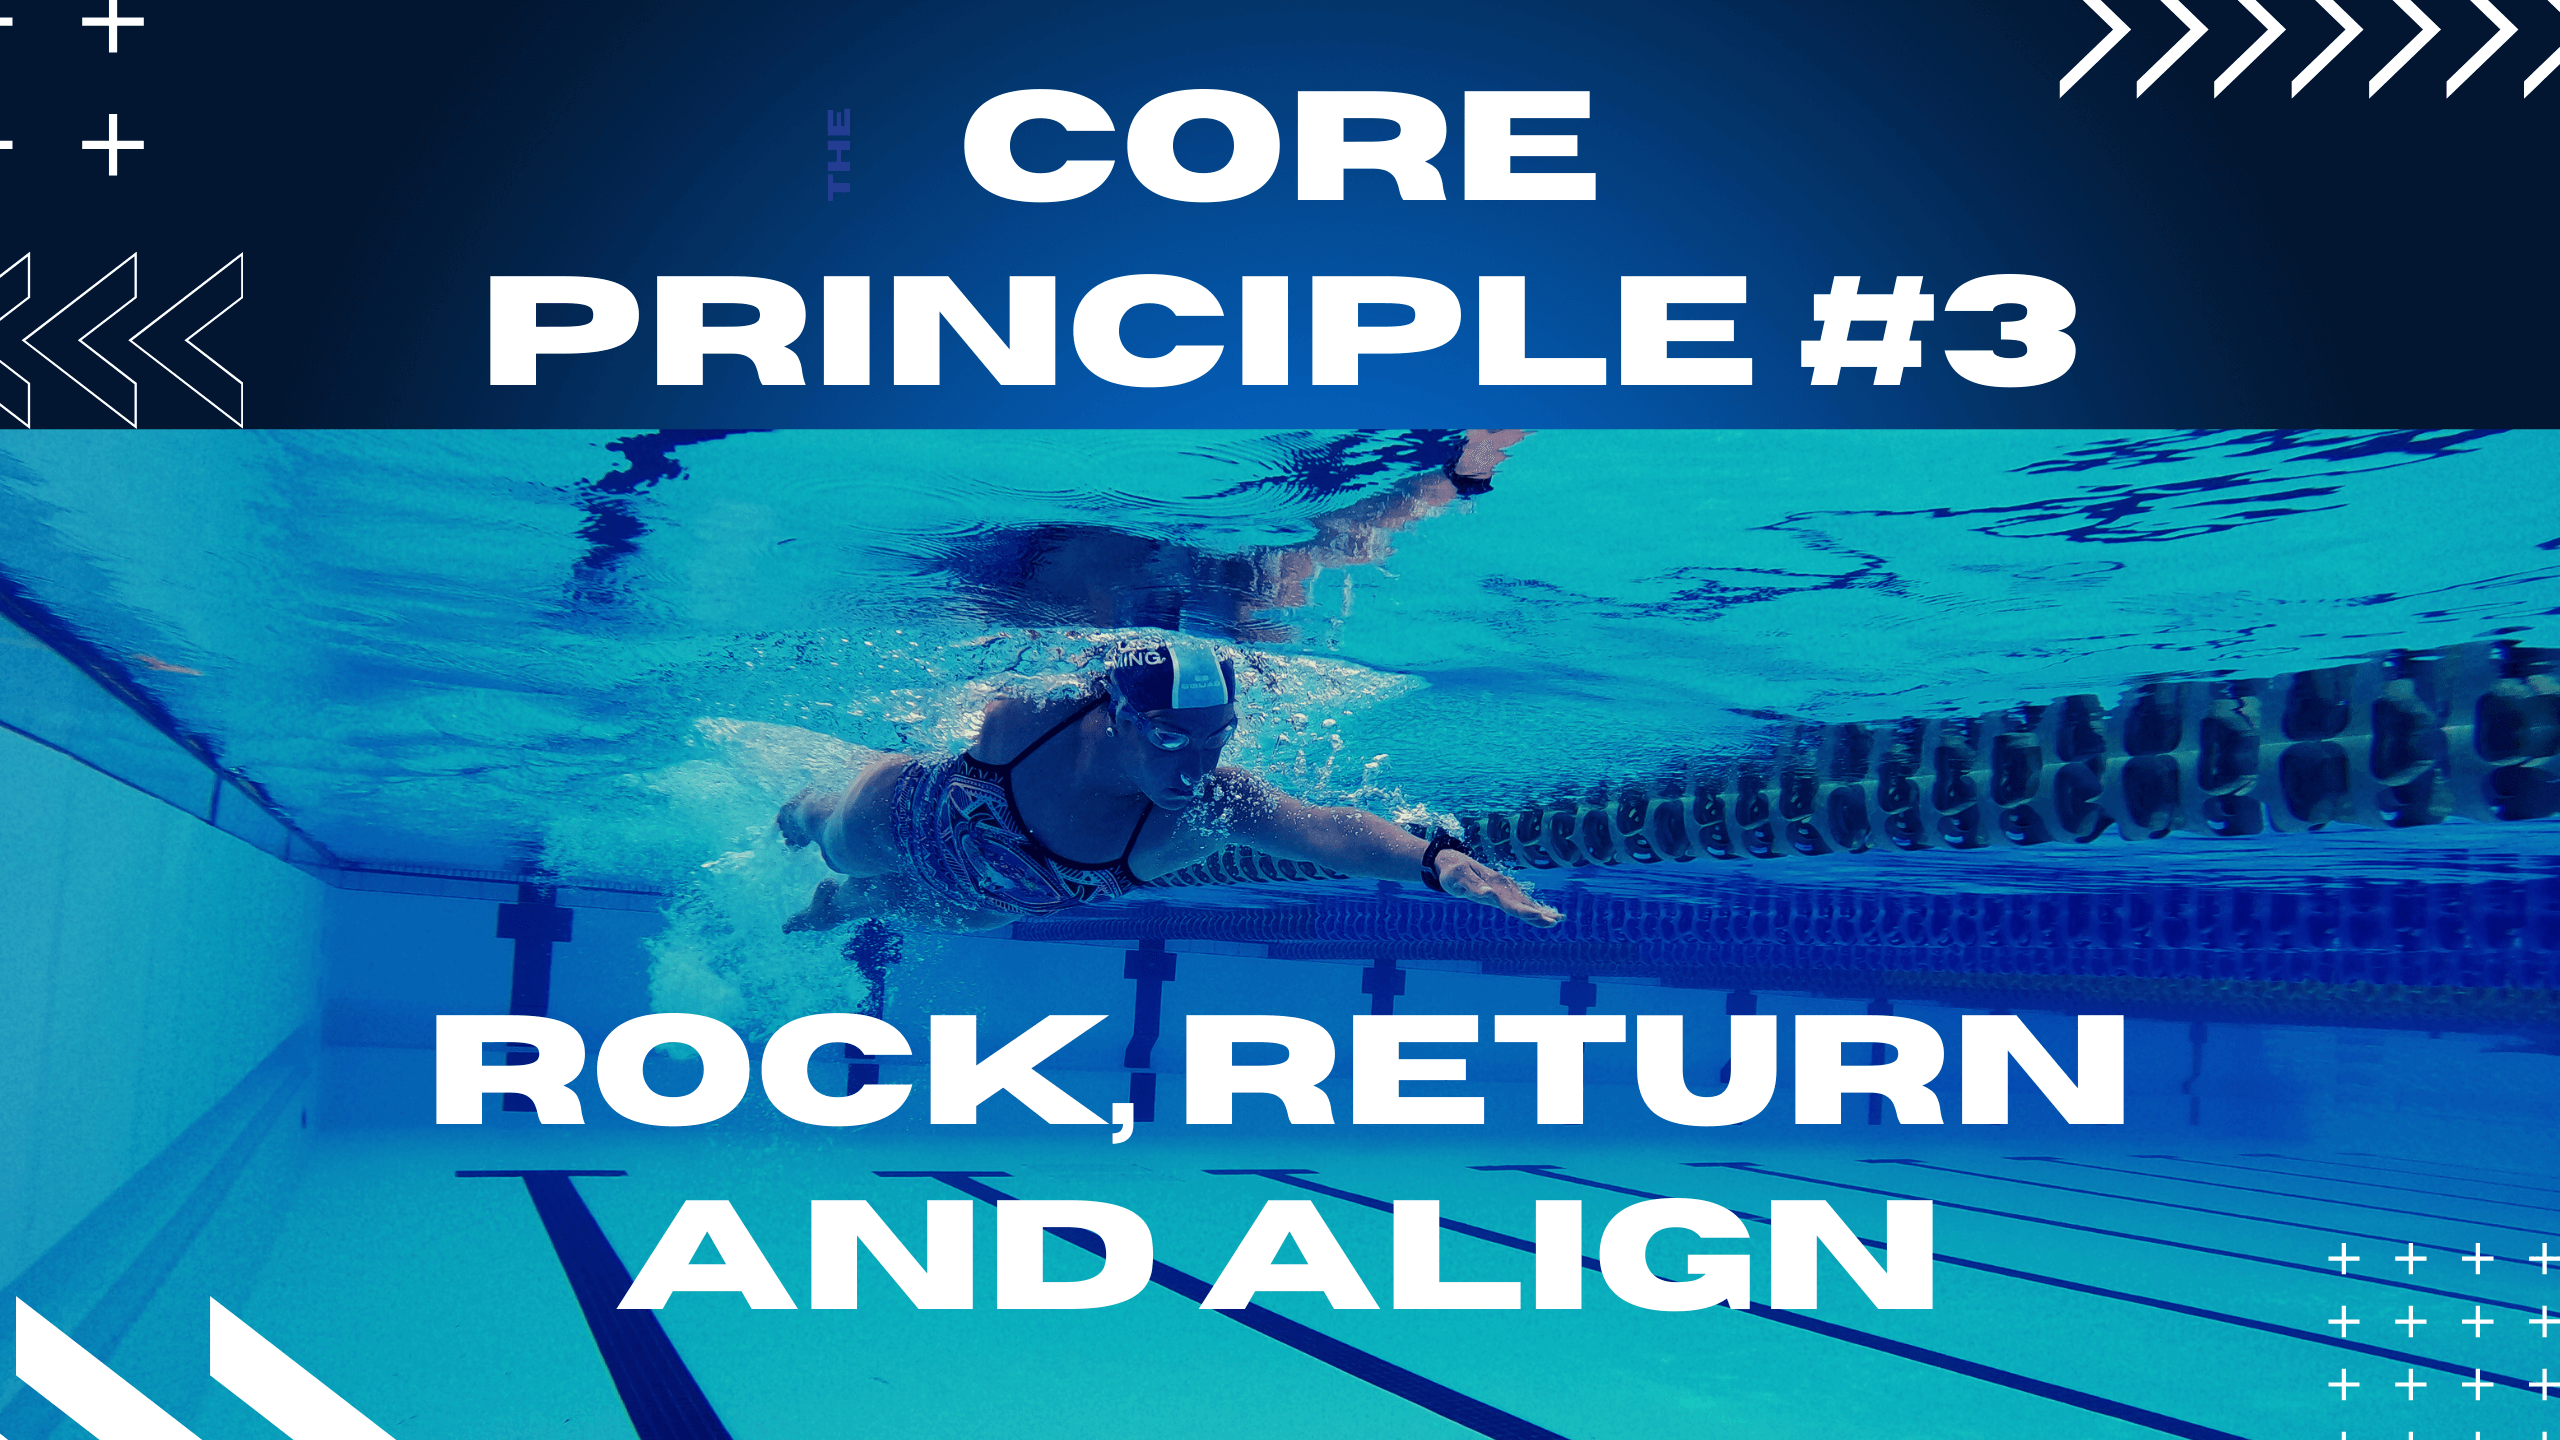
Welcome to the Effortless Swimming Podcast, the show that helps swimmers and triathletes love the water, become a better swimmer and live a better life. Here’s your host, Brenton Ford. Welcome to episode number 197 of the Effortless Swimming Podcast. In the last couple of episodes, we’ve looked at the five core principles of fast freestyle. We looked at principle number one, which is breathe, deep and relax. Principle number two, which is finding your balance. And then the third one, which is rock, return and align. So if you haven’t listened to those episodes, go back and listen to them, because for me, this is the way that I like to analyze someone’s stroke and the way that we like to develop their stroke. And the core principle number four that we’re going to look at today is developing an effective catch and pull. And to me, this is really one of the most important things that we want to do once we’ve got our balance sorted and we’re comfortable in the water.
If you’ve got a good catch and pull, then that is going to generate most of your propulsion. So this is why we focus on this quite a bit. And it can be one of the more challenging things to develop as a swimmer. But with the right things to focus on and the right knowledge, I’ve seen so many people improve this and improve their times as a result of it. So in this episode, we’re going to look at what are those key components of an effective catch and pull. Now, if you’re listening to this and you’re not a member, then I just want to let you know about our Effortless Swimming membership, which has got videos for all this stuff. It’s got all of our drills and it’s got all of this laid out in a way which you can follow it and you can develop this as part of your stroke. So you can find that on our website, EffortlessWing.com, if you’d like to check it out any further. Now with developing an effective catch and pull.
So to me, the catch, pull and press is like the 80, 20 of your stroke. It’s that 20% of your stroke that can really make 80% of the difference when it comes to your speed and propulsion. And this phase of the stroke is just all about what’s happening with your arms under the water. And sometimes when people are trying to improve their catch, one of the things that we notice is that they try to get to some positions that are quite unnatural and as a result, uncomfortable for them. So when people think of a high elbow catch, sometimes they think of that as being the elbow should be near the surface and you’re trying to get your hand and forearm completely vertical. So a really kind of awkward position for most adults at least. Now, that’s not sustainable and it’s not strong. So what I’d like to encourage you to do if you’re listening is to get a good catch. It doesn’t mean you need to get to positions that are going to hurt your
shoulders and that are going to feel really uncomfortable as you’re going through them. So there’s no need to overpower the catch and there’s no need to try and swim like Ian Thorpe or Michael Phelps or anything like that. We just want to get a catch that’s effective and that’s the end result. And for most people that I’ve worked with, I’d say with their current mobility. So if you do have some limitations there, yeah, it’s going to make it a bit harder. But for most people, they can still get a pretty reasonable catch with their existing range of motion. Now, one of the things that we started to teach a couple of years ago was the four key positions to a good catch and pull. Because when we’re working with them in clinics, we found that it was difficult for people to remember the different positions that they should be in throughout the stroke. And when we were teaching it, there was no sort of clear cut way for
people to remember where they should be through each of the phases of the stroke and people were often overthinking it. So what we did is we started to teach the four key positions. And this is something that I came up with after working with so many people at our clinics. And I think it’s a really good way to simplify the catch and the pull and to remember the positions that really make a difference. Because if you can get into these four positions as you are swimming freestyle, if you can get close to them, then that’s all you really need to do. So those four key positions are number one, it’s the start of your catch. And this is when you’re at full extension out in front of your body. So it’s when one arm is out in front. And what we want to have here is that the fingertips should be about the same depth as your underarm. And there’s a very slight downwards angle through your arm. So it’s almost straight in the water.
So your hand, your forearm, your upper arm, it’s almost straight in the water. But there’s just a very slight downwards angle. This is the most efficient position to be in when you’re reaching forwards with your arm and this is when you’re going to be able to start the catch really easily. Now the mistake that most people make here at the start of the catch is that they’re either too high in the water or they’re too low. So some people will have their fingertips up near the surface, they’re palm facing in front of them. And we call that putting the brakes on. It’s going to slow you down because it’s increasing the drag and it’s going to take you that little bit longer to get your fingertips to point to the bottom of the pool, which is what we need to happen as we go through the catch. The other thing that people sometimes do here is they go too deep. Some people will be well below their shoulder or underarm depth with their hand.
And again, it just increases the drag and it doesn’t give you as much room to set up the catch. So if you can get the starting catch position right and think of that as when one arm’s out in front, you’re rotated on your side a little bit and your fingers ideally should be below your wrist, slightly below your elbow. If you can get that right, it can make a world of difference to the rest of the catch and pool. Because if you don’t set yourself up correctly then it can be quite a challenge to make a change or to get a good catch and pool essentially. So this is why we harp on this quite a bit in clinics. We make sure people are in the right position. So that’s the first position, start of the catch. Now the catch movement is basically from there to when the hand and forearm moves downwards and the fingertips point down. So it’s the part, it’s all out in front of the head, it’s when the head and forearm moves downwards.
Now the second position that we teach here is the high elbow catch. And so with this second position, the way that we define what’s a high elbow catch, as I mentioned earlier, it’s not elbow near the surface. So it’s not like a shallow catch because, again, I can put pressure on the shoulders. Sometimes it can mean you sort of slip through the water. A high elbow catch, we define it as if we’re looking side on at someone swimming freestyle, if we were to draw a line from their shoulder to their fingertips when their fingers have sort of finished tipping downwards, we’d want to see the elbow above this imaginary line. Now, obviously that’s a little bit hard to visualize when you’re listening on a podcast. But you could think of that as it’s like an elbow forwards position. Or we want the hand and the forearm to be somewhat vertical when it’s in this position here. So a high elbow catch. Now, it doesn’t need to be extreme.
You don’t need to have your arm at almost 90 degrees here, if you’re thinking of like an elite level catch. Because most adults that I work with and myself included, we just don’t have that range through the shoulders from sometimes punching over, sometimes from riding a bike a lot, sometimes from sitting down. So we don’t often have that range through the shoulders to be able to get like a 90 degree catch or a completely vertical catch position. So all we need to do is be somewhere in that high elbow range. So that elbow somewhere above that imaginary line that we draw from your shoulder to your fingertips. So that’s the second one is a high elbow catch. The third position that we want to get to from there is what we’d call the power diamond. Now, this is when, again, if we’re looking from the side of someone swimming, we’d want the shoulder, the elbow and the hand to pretty much line up on top of each other.
So and the reason that we want that is that would mean that you’ve got all that surface area of your entire arm basically pressing straight back behind you. So shoulder, elbow and hand completely aligned underneath there. Now, it’s not going to happen exactly that way. And if you look at sprinters and slow it down, it’s a little bit less that way. But certainly for distance swimmers, we see that pretty much being the case for most of them. So that’s what the power diamond looks like from the side. But from the front, if someone was swimming towards me, what I’d be looking for there is that when their hand is passing underneath their shoulder, we’d want that arm to make a triangle on the side. So it would look like a triangle on the side. So that means the elbows out to the side, the fingertips are pointing down. Now, if we had both arms in that position, it would look like a diamond, hence the power diamond.
And the reason we call it the power diamond is this is a really strong position for you to be in. So we don’t often want to overpower the catch. When you can apply a little bit more force is when the hand is close to under the shoulder, because that’s a much more comfortable position for the arms and the shoulders to be in. So that’s the power diamond. Now, the mistake a lot of people tend to make here is that they’re too deep and too straight. So there’s no diamond happening there at all. Their arms just completely straight in the water or close to it. So if you can get those elbows out to the side of it, keep the fingers pointing down, then that’s when you tend to get a better hold of the water. And there’s a drill that I quite like here that I’ll sometimes give to swimmers if they’re pulling completely straight with their arms. And it’s just called power diamond kick. And that’s where you’d ideally put fins on, put a snorkel on.
And you’re kicking with both arms in that power diamond position. So your hands would be underneath your shoulders, your elbows would be almost flared out to the side. And you just kick in that position, get a feel for what it’s like to be there. And that way, when you start to develop that awareness around the position and how it should feel in the water, you can then start to get into that position a little bit when you’re swimming. So that’s the power diamond. And for a lot of the feedback I’ve got from people who weren’t aware of that position, you didn’t know about it and then they’ve started to make that changes. A lot of times people really start to feel like they hold the water or feel the water when they start to focus on that, if they weren’t aware of it beforehand. So that’s the feedback I’ve got from quite a lot of people, particularly those that have gone through the five day catch challenge.
Now the last position number four is the exit. So the hands should press back just past the hip, keep the palm of the hand facing behind you pretty much the entire way through the stroke. It can turn into the body at the very last moment to help the hand exit the water. But ideally just keep that palm facing behind you all the way until the very end when it can just turn into the body. So that’s the exit. The other thing we want to have happen here with the exit of the hand and the arm is the elbow should be the first thing to exit. Some people will push too far back, where they’re almost pushing all the way back to their knee and the arm is completely straight, the elbow is kind of locked out and sometimes they get a little bit stuck there and you don’t get much out of the last part of your stroke. There’s not a whole lot of propulsion available there but that said, we don’t want to finish it short. So still press back past the hip, don’t come out before the hip
but just make sure that you’re not pushing back too far and putting too much emphasis or power through the very last part of your stroke. We want to finish in the right spot, we want to keep that palm facing behind you but like most things you can go too far with it. So they’re the four key positions which is the start of the catch, the high elbow, the power diamond and then the exit of the stroke. Now knowing those four positions is great but then being able to get into those positions is even better. So we came up with a drill progression called the YMCA drill progression which has got three drills that will take you through those four positions. So the very first drill is called YMCA drill and in that drill you’re basically kicking for five seconds in each position. So you’ll kick for five seconds at the start of the catch, five seconds in your high elbow, five seconds in your power diamond and then five seconds with your hands at the exit
and this is with both arms and we’d usually do this with fins on and with a snorkel on. Now the reason for this is similar to what I mentioned earlier is we want to get familiar with and get the feel for what it’s like to be in those positions perfectly because in this drill, everyone, no matter how bad a swimmer you are, how new you are to the sport, everyone can get into these positions with enough practice and enough refinement and then if you’re familiar with what it feels like to be in those positions you’re going to start to make those connections when you swim. So that’s the YMCA drill and again this is something we came up with a couple of years ago just to simplify the catch and the pull and we’ve had a lot of success with this and that’s why we continue to use it and we do it at clinics and in that YMCA drill and if you haven’t seen it you can look it up on YouTube, I made a video about the YMCA drill
if you haven’t seen it, so just look up Effortless Swimming YMCA drill and that will come up on YouTube if you haven’t seen it and then we’ve got this full progression inside the five corporates who was training in the membership and in this YMCA drill, one of the things that people find a bit uncomfortable I guess is positions number two and three. So as you’re going through these four positions, the start of the catch that’s easy to hold, it’s kind of like your front kick drill and then as you move into the high elbow position where you’re kicking with both arms out in front in like a high elbow catch you start to feel a bit of resistance on the arms and then when you get down to the power dome you’re feeling that oncoming water really pushing your arms back and it’s a lot of resistance or a lot of drag created there and so people go, oh that’s not very comfortable and so they let the hands move back but if you can just put up with that resistance
that gets created in positions two and three as you go through the YMCA drill that’s really going to help you develop that feel for those positions and then the exits fairly easy then you come back underneath and start again so that’s the YMCA drill then the next one is basically like a one-arm version of it so you’ve got one arm in front and the one arm is going to go through those positions except you will just kind of pull through at the end and then the last drill is called YMCA Exhalerate plus a stroke so you’re kind of going through the one-arm version of it and then a full stroke and that’s in order to basically make that connection from the drill to the full stroke so that’s one drill progression that I’ll give people if they’re working on their catch now the other drill progression is a couple of drills that I’m a big fan of we go through slow doggy scoop, doggy scoop, single-arm scoop and then there’s another one called catch kick
where you’re basically just kicking with your arm in the high elbow catch position so again they’re on the membership if you’re looking for them it depends on the swimmer I’ll either give them one of those two drill progressions to help with it now there are another couple of things that help here with your catch and pull and I’ve found most people aren’t taught this when they either learn to swim or if they’re getting lessons and that sort of thing so the first thing is that the catch phase of the stroke shouldn’t be the power phase so as you’re going from full extension out the front to moving the hand forearm down think of that as the setup phase so that movement is overhead where it’s out in front of the head and so we’re not that strong through that movement compared to the other part of the stroke as you’re pulling down underneath your body so we don’t need to overpower that section and secondly if you do force it too much in the catch
you’re not going to move as well so it helps to be a little bit more relaxed to be able to get a high elbow catch position because if you try and muscle that it’s a lot more difficult to do that so the catch is the setup phase then the pull and the press so that sort of last two thirds of it that’s a bit more the power phase that’s when you can apply a bit more power so if I see that someone’s really like they’re not moving well through the water it looks like they’re slipping a little bit one of those causes can be they’re overpowering the front end of the stroke so when you jump in the water next time one thing that you might try is just easy through the catch phase then just increase the power a little bit once you’ve moved through the catch and just see if you can notice a difference there now the second thing is the path of the hand so I know that a while ago, a couple of decades ago they used to teach quite a long S-shaped curve
as your hand’s moving through the water and this would sometimes cause people to go too far out to the side come too far back in and just have too much side to side movement through the catch and the pull so the path of the hand that we’ll normally see at the elite level is it’s like a long S there’s going to be a little bit of out sweep in the beginning meaning the hand comes away from the center just a little bit and then it will come in towards the center so there’s a little bit of an in sweep so it’s like a really long S-shaped curve and the other way that we’ll describe this is it’s like tracing the outside line of your body so if you’re looking above at someone swimming the hand will almost trace the outside line of their body so let’s say the left hand’s pulling through it’s going to come out a little bit wider as it passes the shoulders and then as it goes past the shoulder it’s going to come in a little bit
and sort of trace the side part of the body there so a couple ways to think of it and this will sometimes feel as though you’re almost pulling through straight now the hand’s going to naturally curve it’s naturally going to sort of find the point of almost like most resistance almost pressure if you do it correctly so even if you feel as though you’re pulling straight you’ll have this natural curve which is kind of what we’re going for now the third thing here that can really help improve your catch and pull is the hand speed so your movements and swimming should be slow to fast meaning that particularly at the front as you’re reaching forwards as you’re going through the catch you can go through that part of the stroke a little bit slower than you do through the last part of the stroke as you’re pressing back past the hip so what we want to see is a bit of exhalation from the catch through to the pull and then the press phase at the back there
so if you slow it down that little bit out the front when the hand’s reaching forwards and going through the catch and then you speed it up a little bit as you go through the pull and the press then you’ll typically feel like you’re holding the water better you won’t slip as much and you’ll just have a better hold of the water the whole way through and that will generally lead to better distance per stroke so how far you’re traveling with each stroke that you take and that’s a really important factor to swimming faster so slow to fast is what we’re usually looking for and even with sprinters someone sprinting a 50 freestyle they’ve still got that slow to fast it’s not as obvious and they’re obviously not going as slow through the reach and the catch they’re pretty quick through it still but no matter what distance you’re doing no matter what speed you’re doing there’s always that element of slow to fast so it’s not like you’re turning the pedals on a bike
at a constant speed no, it’s a little bit different than that so slow to fast can really make a difference there and like all the other things that we’ve talked about you can go too far with it so don’t overdo it where you’re like really slow at the front and then you’re really ripping hard and fast at the back no, just it’s like a dance you know, you wanna find that rhythm you wanna be able to wanna be able to just do that within reason so that’s the catch in the pool developing an effective catch and pull and if you haven’t already been through the five day catch challenge that we’ve got I’ll put a link in the show notes here and to me that’s the best 10 bucks that you can spend to work on your catch and pull and we have had so many people take sometimes like a lot more than five seconds off their 100 meter pace going through it that’s just gonna give you a really simple plan to follow and give you some structure around developing the stuff
and I go into quite a bit of detail with it and it’s just and you don’t need to do it within the five days you can do it over the course of a week or two weeks whatever you’d like to do there but go and check out the five day catch challenge if you haven’t already been through it so I’ll put that in the show notes so that’s corporate swim number four the very last one is about rhythm and timing it’s like putting it all together and being able to dance when you’re swimming so if you look at a good swimmer everything’s well timed, everything’s efficient and so that’s what corporate swim number five is about which we’ve got coming up in the next episode so thanks very much for listening if you did enjoy this episode I’d love it if you could leave an iTunes store of you and it just helps us get seen by more people and I’ll see you in the next episode thanks for listening to the Effortless Swimming Podcast if you’d like us to help you become a faster
more efficient swimmer go to www.effortlesswimming.com